Fixing a failed fan and CMOS battery on an Intel NUC7
I have an Intel NUC NUC7i5BNK I use for a home lab that recently started acting a little strange. The NUC is located in a closet so when I went to check on it I noticed the case was pretty hot, so I took it to my desk to check it out.
Turns out there were a couple of issues. First off, I noticed that even though it was blazing hot, the BIOS showed the fan speed at 0 RPM. Second, it was complaining of a CMOS checksum error. Since the device is over 4 years old, it’s reasonable to assume the coin cell battery for the CMOS could be faulty so I decided to check that first as… maybe there’s a correlation with the fan? I don’t know but it was easy enough to check. I found Ifixit’s tear down of a similar NUC to be of help.
CMOS Battery Issues
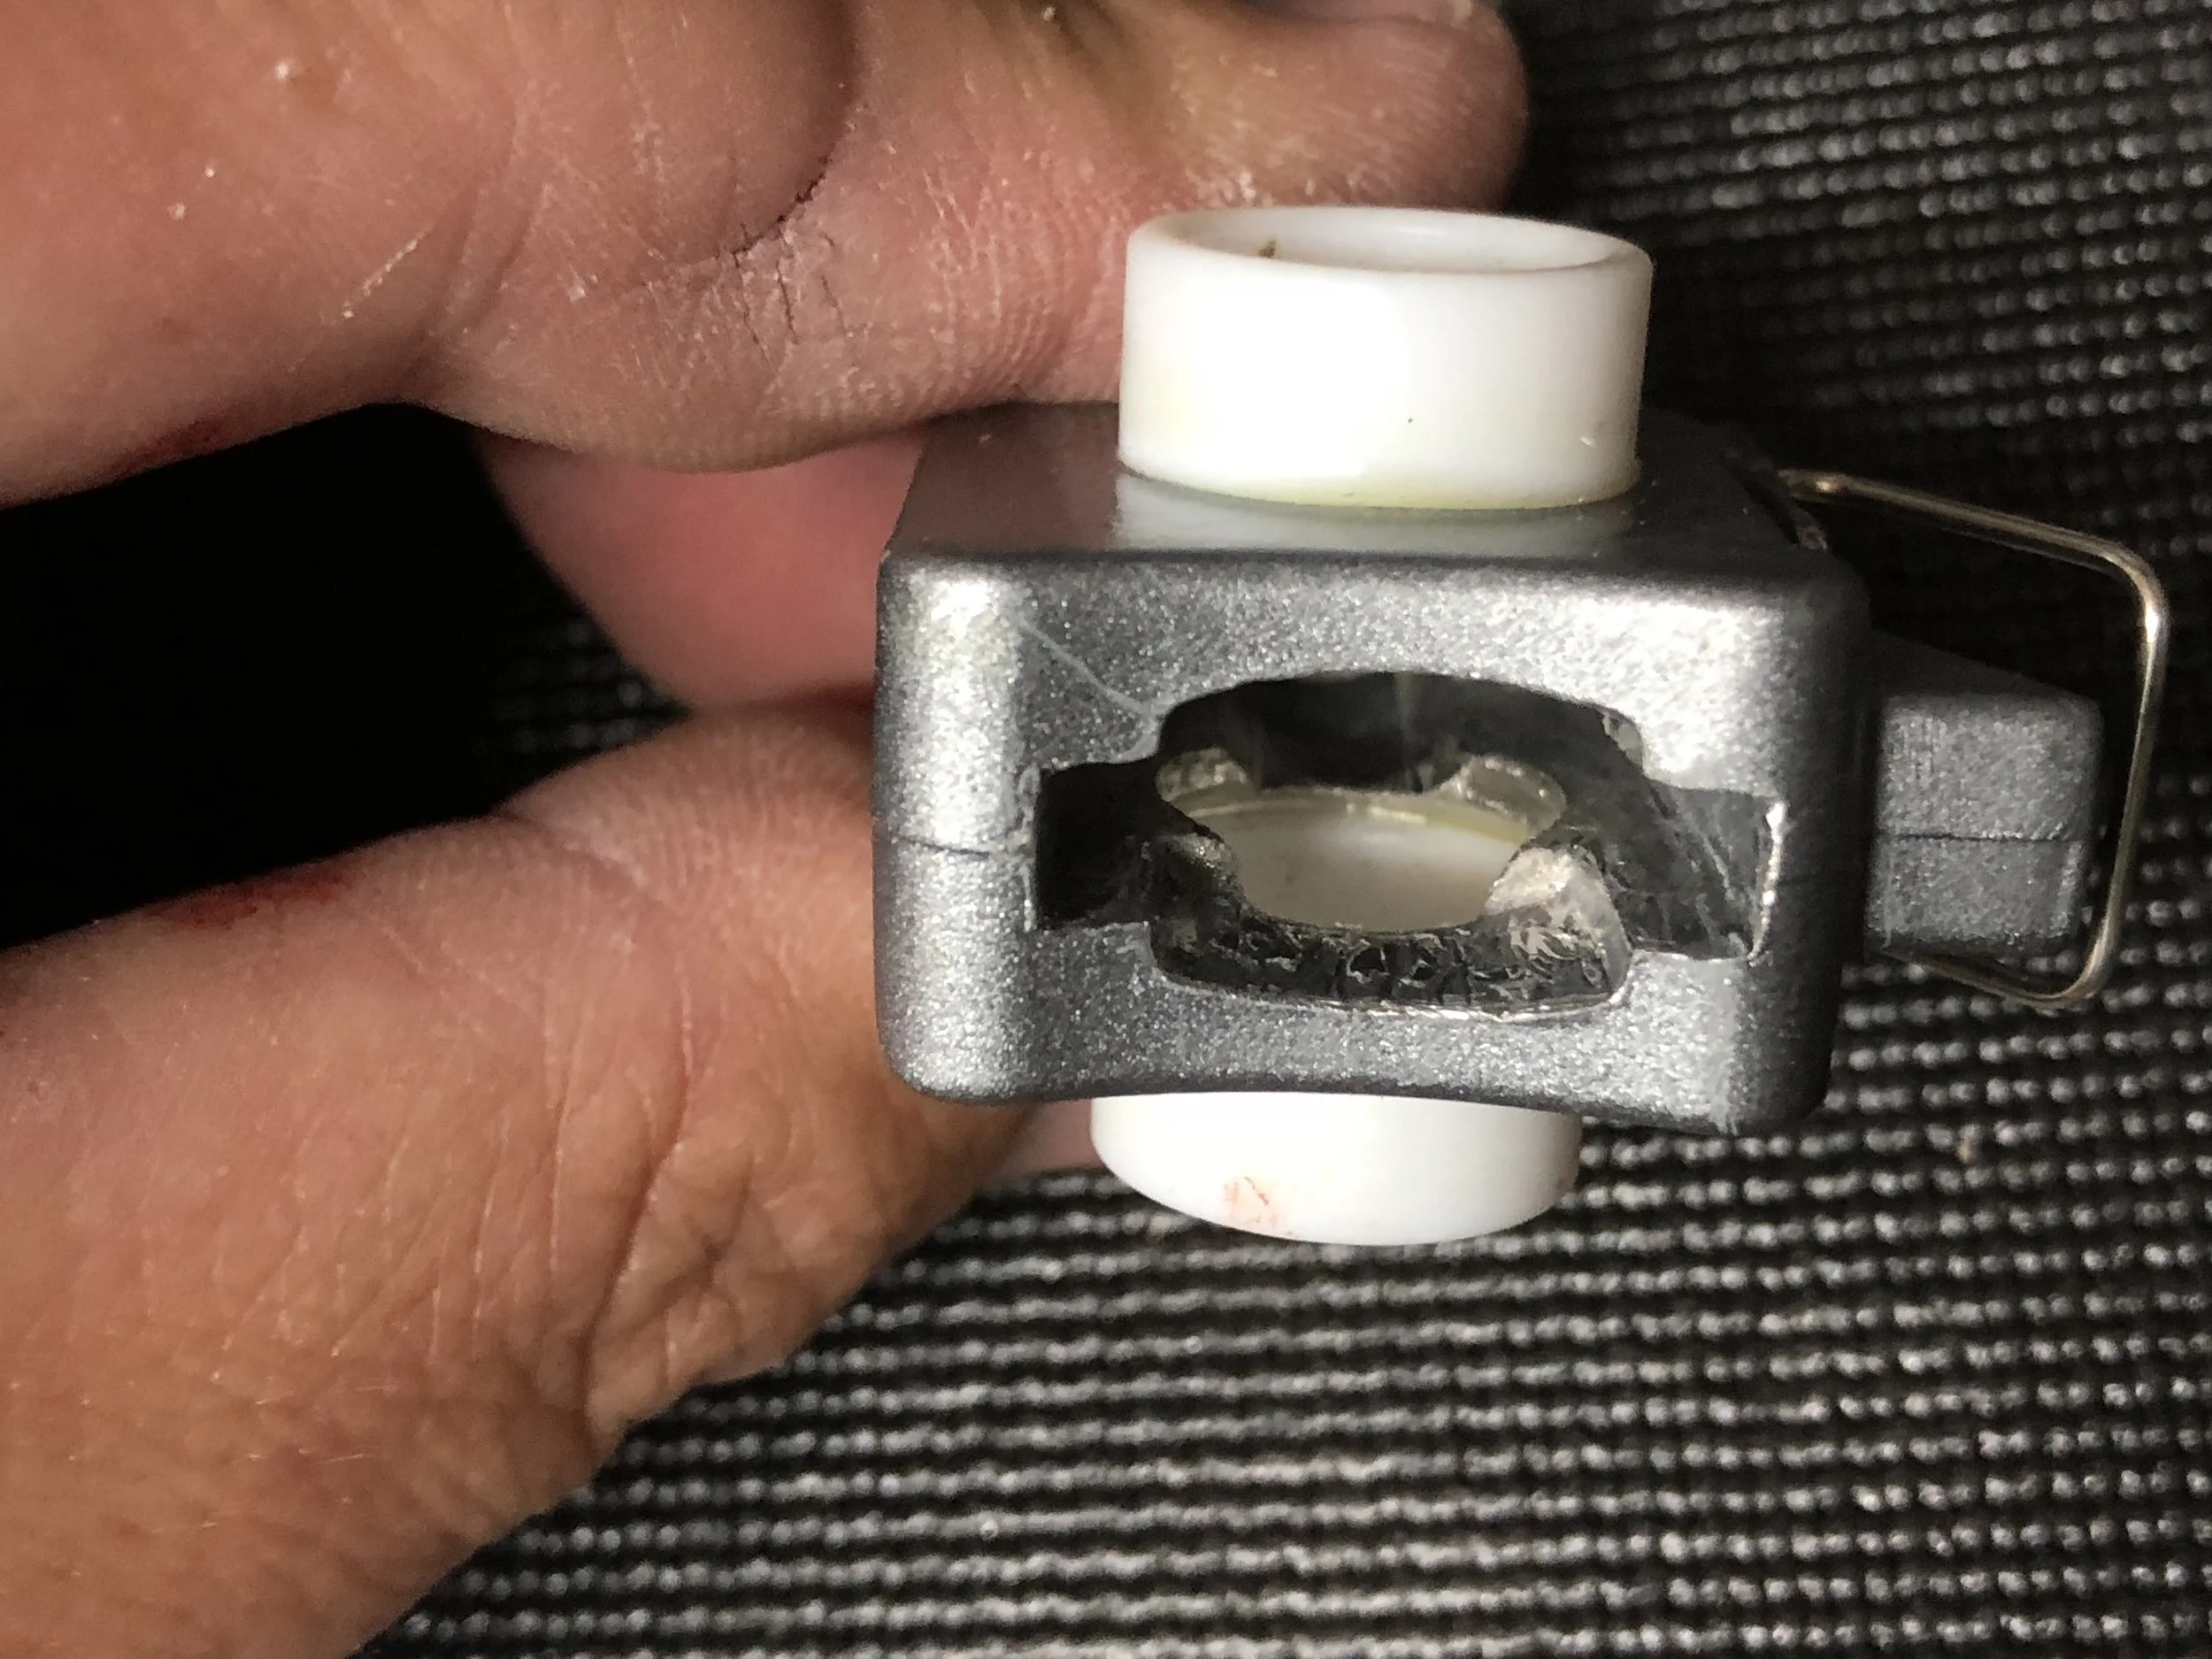
With the multimeter out, I found that the voltage on the battery was showing close to nil (~100 mV). The bad part about these batteries is that while they’re relatively cheap, Intel has made the decision to spot-weld the terminals to the battery so to get a replacement you end up spending $10+ instead of, maybe $0.50.
To fix this, I simple ripped the tabs off the old battery and then, using a new battery I found some heatshrink tubing that was almost too tight, and I place the black lead on the negative side of the battery, ensuring that I did not ground out the positive portion of the battery and did the same for the red terminal (to the positive side) ensuring I didn’t short out this lead to the negative portion of the battery. I slid the parts into the heat shrink and again checked to ensure both terminals were where they were supposed to be.
Using my heat gun, I shank the 3:1 heat shrink until it was as tight as possible.
I attached the new battery to the NUC, booted it, set the time and saved the BIOS settings, let it reboot, then I shut it down.
I removed it from power for 5 minutes and then tested the boot. It seemed to fix the CMOS issues however fan was still at 0 RPM.
The Fan
BIOS Settings
I manually set the FAN parameters duty cycle to 100% so that the fan should always be on. Saved the settings and rebooted, and there was no change.

Fan Removal
I tried to spin the fan, and while it did move, because it’s a brushless motor there was some resistance so it’s hard to tell if it’s okay or not. I decided to remove the fan by loosening the screws below highlighted in blue to check it further.
Fan Disassembly
I pulled the metal cage off by removing the black screw circled in blue and pried the tabs highlighted in red slightly as I worked the cage off.

I then gently pulled on the fan to separate it from the coil.
Fan Cleaning
Using compressed air and a brush I gently cleaned the fan blades. Then, using some isopropyl-alcohol (IPA) and a lint-free wipe, I cleaned the spindle of the fan (purple) several times and then finally using a dry lint-free wipe I removed any excess IPA. I then applied a very small amount of synthetic grease to the spindle.
Using another lint-free wipe and IPA I cleaned the housing of the fan, being careful to stay out of the spindle hole (yellow) as I thought trying to get debris out of here would be difficult. It seemed clean as-is.

I re-assembled everything in reverse order, before I put the metal cage back on the fan I bent the tabs (red) inward slightly to ensure they gripped the corresponding tabs on the fan body securely. I reattached the screws (blue), and reattached to the heatsink on the NUC motherboard.
Testing
While having the motherboard still out of the case, I booted the system and went into the BIOS. I immediately heard and saw the fan moving and BIOS was reporting 5000 RPM, which was great. The fan sounded “normal” and the temperature of the CPU was at 40c. I let this run for several minutes then I power cycled the system several times to ensure the fan was operating as it should.
I then reassembled everything back into the case and reset the cooling settings back to the “Cool” profile so the fan would cycle instead of running at 100% all the time.
So, all-in-all a success and not to terribly difficult. And I saved $50 or so in the cost of a new fan and a replacement CMOS battery.